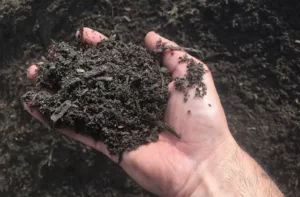
High quality Screened Top soil

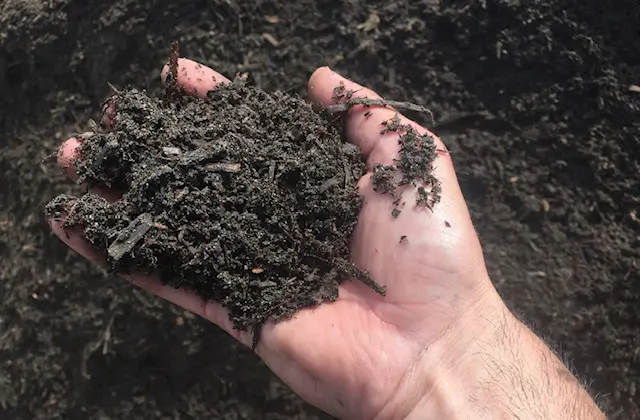
High Quality Screened Top Soil

What are the differences in Screened Top Soil

When it comes to choosing the right top soil for your gardening or landscaping needs, it is essential to understand the difference of quality between sources of screened soils.

Not all screened top soils are sourced in the same area and the origin of the soil can significantly impact the quality and suitability for use.

This is a particular concern of use around children and pets.

High quality screened top soil comes from pristine farmland.

PREPARE SITE OF DEBRIS

The Risks of Lower Quality Screened Soils


Lower quality screened soils are often sourced from construction or building sites.

Although these soils undergo a screening process designed to remove debris and larger particles, some contaminants can still slip through.

Items such as bits of wire, small pieces of glass, and other remnants from construction activities may remain.

This poses a serious safety hazard, particularly in residential settings where children play and pets roam.

Exposure to these contaminants can lead to injuries or health concerns, making it crucial for homeowners to be cautious when selecting top soil.

It is important to source high quality screened top soil.

The Benefits of High-Quality Screened Top Soil


On the other hand, the highest quality screened soils are sourced from pristine farmland.

These soils are carefully extracted and screened to ensure they contain only top-quality nutrients and organic material.

Suitable for vegetable gardens, flower beds, and lawns, these screened top soils not only enhance soil structure but also promote healthy plant growth.

Kennedys Cranbourne is proud to stock the finest quality screened sandy loam soil, sourced exclusively from pristine sites.

This premium product is free from contaminants, making it an excellent choice for homeowners looking to create lush gardens and beautiful landscapes.

Using high quality screened soil ensures that your plants have the best possible conditions for thriving, free from the risks associated with lesser-quality options.

High Quality Screened Top Soil

Conclusion


When selecting screened top soil for your gardening or landscaping projects, prioritize quality over cost.

Low-quality screened soils may seem like an economical choice, but the potential safety hazards and contamination risks can outweigh the savings.

Opt for high-quality screened soils from reputable sources like Kennedys Cranbourne to ensure a safe and fruitful gardening experience.

Your garden, family, and pets deserve nothing less than the best.

How to Clean Fresh River Pebbles

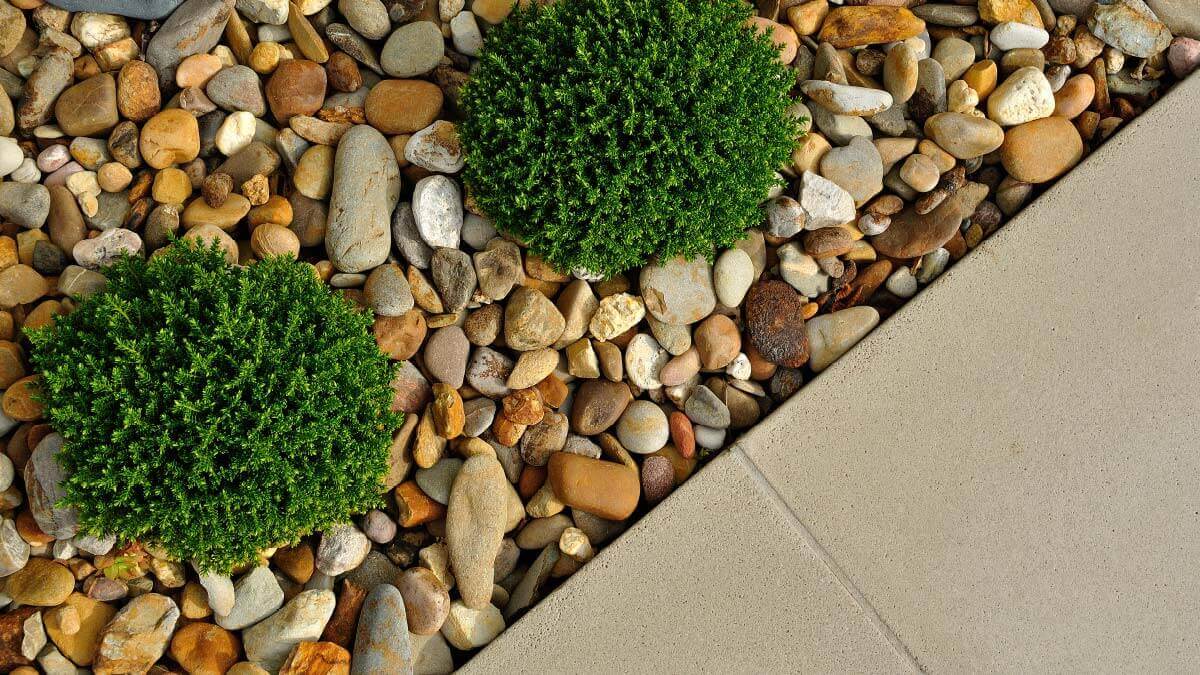
Clean Fresh River Pebbles in garden bed

Here is a step by step guide on how to clean fresh river pebbles in your garden.

Fresh River pebbles are added to gardens for beauty and functionality.However, the pebbles that arrive fresh from a quarry usually have a thin layer of silt or dust covering their surface.Additionally, Prepare and clean fresh river pebbles in the garden to showcase their natural beauty.Firstly, Prepare Your River Pebbles 

1. Spread Your Pebbles

To start, take your tarp or big sheet to an open area where you may want to work with your pebbles. Spread the pebbles on the tarp so that each is well accessible for proper cleaning.

2. Sorting (Optional)

Whether you have a design pattern in mind or want to put different-sized pebbles in different areas of the garden, now’s the time to do so. Examples would be large pebbles on the top or at the edge of the garden.

Laying Your River Pebbles in the Garden


1. Prepare the Garden Bed

Clean from the garden bed, where you are going to lay your pebbles, all debris, weeds, and old mulch. Carefully level the soil to be sure that the surface will be even.

2. Laying the Pebbles

Begin from one corner of the area where you want to lay the pebbles, and work gradually across. You may consider using a garden rake for proper even distribution.

3. Prepare fresh river pebbles

This is to say, pebbles laid to about 2 to 3 inches thick do the job quite nicely. At this depth, good ground cover is achieved while simultaneously allowing any excess water to be dissipated through the layer effectively. 

How to Clean Fresh River Pebbles

With your fresh garden pebbles in place, washing them down brings clean vibrant colours and takes away the silt: 

1. Take out your Hose or Spray Nozzle

Screw a spray nozzle onto your garden hose for better control over water amount and direction.

2. Wash Pebbles Lightly

Turn the pebbles by washing them in a soft but steady flow of water. Discharge the pressure to avoid dislodging or churning the beds

3. Clean the river pebbles

As the fresh garden pebbles are cleaned, you will see silt washing off to reveal the real colours of the pebbles that lie beneath.

4. Silt

As a result, the washed silt will settle to the bottom and allows a firm base for the pebbles to sit on.This is how to clean your fresh garden pebbles after they have arrived.Final touchesBordersConsider edging the borders around the perimeter of the garden bed to keep a neat appearance.

Maintenance

Occasionally wash off the accumulated dust or debris to keep them looking fresh.Follow these steps to keep your pebbles always looking fresh.

Quality Drainage Scoria used in construction

20mm-Drainage-Scoria-Kennedys-Garden-Supplies


Whether you’re in construction, landscaping, or plumbing, drainage scoria is a versatile material that can add value and functionality to your projects.

Kennedys Cranbourne stocks quality drainage scoria used in construction.

This includes the 20mm and 7mm sizes to suit various applications.


Here are ways to use quality drainage scoria in construction.


1. Drainage Solutions:

Due to its porous nature, drainage scoria creates efficient drainage systems.

Its lightweight structure allows for easy water flow, preventing waterlogging and managing runoff effectively.

This type of volcanic rock is ideal for French drains, trench drains, and other drainage applications.


2. Plumbing Support:

For plumbing projects, scoria can be used to around pipes, this ensures stability and aiding in water drainage around plumbing installations.

It minimizes moisture retention, reducing the risk of corrosion over time.

3. Retaining Wall Backfill with scoria:

When constructing retaining walls, use scoria as backfill material provides excellent drainage, reducing excessive pressure.

This can increase the life of the retaining wall and prevent damage from water build up.

retaining wall
retaining wall

4. Scoria in Decorative Garden Beds:

Beyond its functional use, scoria also adds aesthetic value to garden beds.

Its natural, earthy appearance complements landscaping designs beautifully and helps retain soil moisture while allowing for excellent drainage, which is beneficial for plant health.

The 7mm drainage scoria is popular for use as a hard mulch in garden beds.

scoria as mulch in garden bed

5: Scoria as a Fill material

20mm Scoria can be used as fill material construction projects. It is lighter than gravel so it can be easier to transport.


6: Drainage Scoria in Aquaponics and Hydroponics

Scoria can retain moisture while allowing excess water to drain away. It makes it an ideal material for indoor gardening systems.

With options available in both 20mm and 7mm sizes, you can select the right dimension that suits your specific needs.


Reach out to us to get your supply and enhance the efficiency and aesthetics of your projects today.

Call 03 5996 2504 for more information

Crushed Rock in Construction

Crushed rock

Crushed Rock is used for construction and building projects as the choice of materials are important for ensuring stability and durability.

The drainage and compacting qualities of Crushed Rock make it a material that is used for both wet weather conditions as a sub-base.

This article explores the benefits of using crushed rock in these contexts.


Crushed rock is produced by mechanically breaking down larger rocks into smaller aggregate stones which include fines.

The stone varies in size, shape, and texture, making crushed rock an excellent choice for various construction applications.

Crushed rock is made from hard rock types, including granite, basalt, and limestone and these contribute to its strength and durability.


Benefits of Crushed Rock in Wet Weather

Crushed Rock in Wheel Barrow

1: Firm Base Properties

One of the primary advantages of crushed rock as a firm base.

Crushed rock compacts well allowing a strong and stable sub base for concrete or decorative driveway toppings to be applied.

2: Minimised Erosion:

Most important, soil erosion can become a significant concern in wet weather.

Finally, crushed rock provides a stable surface that helps prevent soil displacement, making it ideal for driveways, paths, and other outdoor areas that are prone to water runoff.

3: Reduced Slipping Hazards:

Wet surfaces can become slippery and hazardous.

Crushed rock provides a natural traction this making it a safer option for areas subjected to heavy rainfall.


Crushed Rock as a Sub Base Material in Construction

crushed rock in construction

The sub-base is a foundational layer beneath paving or structures, and using crushed rock in this capacity offers special advantages:

1: Load Distribution in construction

Laying crushed rock can distribute weight, making it a reliable choice for supporting heavy constructions, such as roads, parking lots, and building foundations.

The quality will help prevent settling or cracking over time.

2: Compaction and Stability:

In conclusion, Crushed rock forms a solid foundation and resists movement when compacted.

The compaction will ensure the longevity of the structure built on top.

Its angular particles and finer dust will lock together to provide added stability.

3: Versatility of crushed rock:

Crushed rock is versatile as it can be used for residential driveways and commercial building foundations.

On the other hand, its adaptability makes it a go-to option for contractors.

4: Cost Effectiveness:

Compared to other materials, crushed rock is often more affordable and provides excellent value without compromising on quality or durability.


Conclusion

Equally important, incorporating crushed rock into construction or building projects in wet weather conditions can offer numerous benefits.

Previously mentioned, its drainage properties, erosion resistance and stability as a sub-base makes it an invaluable resource for ensuring the longevity of structures.

Whether you’re building a new road, laying down a foundation, or enhancing outdoor spaces, crushed rock is a smart choice that combines practicality with performance.

Finally, by selecting the right crushed rock, you can achieve optimal results to make informed decisions on durable construction.

For deliveries of Crushed Rock in Berwick, Cranbourne, Clyde, Skye or Botanic Ridge, call Kennedys Cranbourne on 03 5996 2504

How to Lay Paving with Concrete Sand or Blue Stone Dust

When it comes to paving, both concrete sand and blue stone dust are excellent choices due to their coarse texture, which prevents moisture from becoming trapped between pavers and ensures a solid foundation.

Here is a step-by-step guide on how to use either Concrete Sand or Blue Stone Dust to lay pavers.

DIG OUT THE AREA before pavingDIG OUT THE AREA before pavingDIG OUT THE AREA before pavingHere’s a written guide to get you started:

1. Prepare the area:

Start by clearing the area of any debris and vegetation.

PREPARE SITE OF DEBRIS

2. Excavate the area:

Dig out the area to a depth that allows for the pavers, bedding layer, and sand to sit at the desired height.

3. Add base material:

Lay down a base material like B Grade crushed rock, gently spray with water to reduce dust and compact it with a plate compactor to create a stable foundation for the pavers.

 4. Add a layer of sand or dust:

Spread a layer of either concrete sand or blue stone dust evenly over the compacted base material as a base to lay the pavers the pavers.

The sand or stone dust should be screeded, or levelled, to ensure a consistent depth.

5. Install edge restraints:

Place edge restraints around the perimeter of the area as this will keep the pavers in place.

6. Lay the pavers:

Start laying the pavers in the desired pattern, ensuring they fit closely together.

7. Compact the pavers:

Once all the pavers are laid, use a rubber mallet to firmly compact the pavers into the sand or stone dust.

8. Fill the joints:

Finally, spread a finer white washed sand over the pavers and use a broom to sweep the sand into the joints between the pavers. Then, lightly wet the area to help settle the sand.

This is a basic overview, but there are many factors to consider when laying pavers.

If you need more specific guidance or want further details on any of these steps, feel free to ask.

How to Create a Pathway with Pebbles using Weed mat

pathway with weed mat as base

One of the projects that you can undertake to transform your outdoor space quickly and easily with how to create a pathway with pebbles using weed mat. Here is a step by step guide on how to create a pathway using weed mat. How you can achieve a functional and visually appealing pathway through out your garden or yard.

Step 1: Prepare the area you need to leave clear.

First, prepare the intended area of the pathway. Dig out the area to a depth of  about 10 cm, which is enough room for the base layers and pebbles while maintaining the ground level.

Step 2: Lay a firm Base.

After digging out the area, you need to establish a firm base for the pathway. Spread the crushed rock evenly on the cleared out area and level it with a compacting tool like a roller, as this ensures a firm base and even distribution. Add the bluestone dust on top of the rock to a depth of  5 cm as it will give a smoother surface. Bluestone dust is more compact and smooth and will provide an ideal surface for the weed mat.

Step 3: Lay the Weed Mat

The next phase is laying the weed-mat. Spread the weed mat over the compacted base as the weed mat provides several functions. This includes preventing the growth of weeds underneath and adding strength to the pathway. Ensure that the weed mat covers the entire area of the pebbles.

Step 4: Add the Pathway Toppings or Pebbles

Finally, you are ready to lay down the pebbles which is the final layer of your pathway. Spread a 5-10cm deep layer of small pebbles or pathway toppings on top of the weed mat for a good coverage. The thickness varies with the size of the pebbles. Use a rake to spread the pebble uniformly across the path and smooth the appearance.

Step 5: Maintenance

After the pathway is complete, you should ensure that the pathway is well maintained. Clear the surface of dirt and leaves to ensure that  it remains glamorous. Check the weed mat for any signs of weed growth and remove the weeds to avoid any holes in the mat.

With the above steps, you will have a beautiful pathway with pebbles. This how to, step by step guide will help you create a pathway with pebbles with weed mat, which serves as a previously viable solution for your landscaping project.

If you live in the City of Casey or surrounds, you can call the team at Kennedys Cranbourne. For further information, you can call us or look at our products pages for pricing.

You are now ready to create a pathway with pebbles using weed mat!

Unlock the Power of Compost:

Tips & Benefits to Compost

10 Active Ways to Enhance Your Garden and Environment.

Compost is a highly versatile and beneficial resource which can be applied in many ways to enrich your soil, environment and the health of your garden.

The following active and innovative ways of loss to get the most out of your compost:

1. Fertilise your Garden 

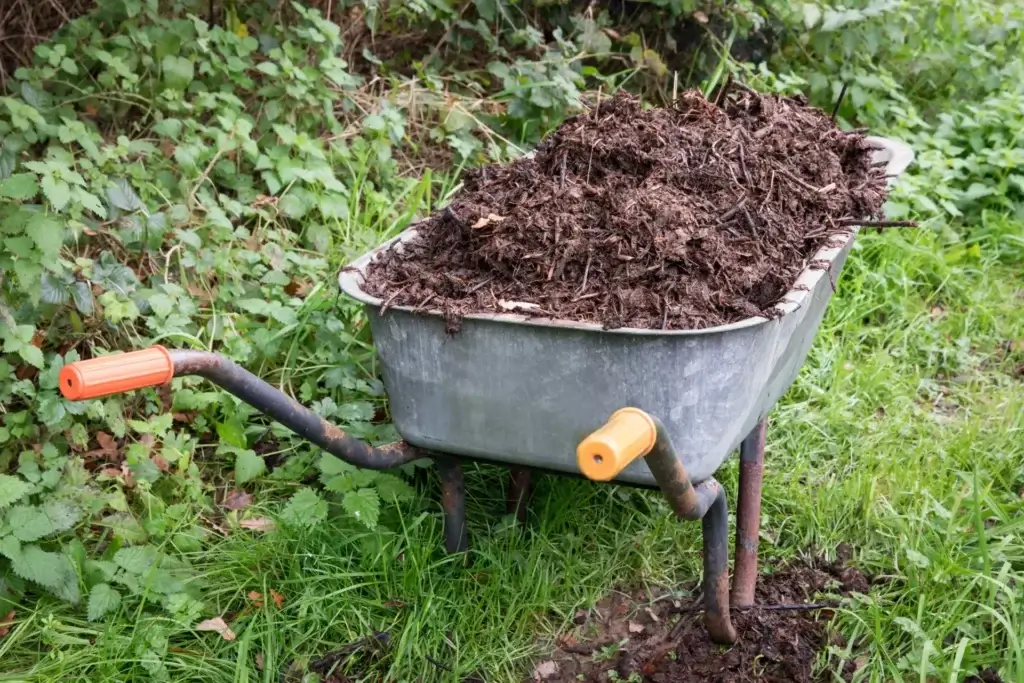
Add the nutrient dense compost in your wheelbarrow to fertilise your garden. This provides your plants with the essential organic materials to feed the soil. Spread a thick layer of compost on the soil around your plants to support vigorous and healthy growth.

Fertislise you Garden. Compost in wheelbarrow

2. Mulch for Moisture Retention:

Use compost as a mulch as this will help retain moisture in the soil. This activity saves water usage and also saves the roots from the lethal low and high temperatures.

3. Create Compost Tea:

Add water to compost to make a liquid fertiliser. This watery fertiliser can be used in the growing season regularly in vegetable gardens.

4. Improve Soil Structure:

Mix compost into your garden soil to improve its structure and water retention capacity. This will help loosen heavy clay soils and provide better aeration for plant roots.

Improving soil structure with compost

5. Amend Potting Mixes:

Add compost to your potting mix to improve your potted plants with nutrition and a better growing environment

6. Feed Your Lawn:

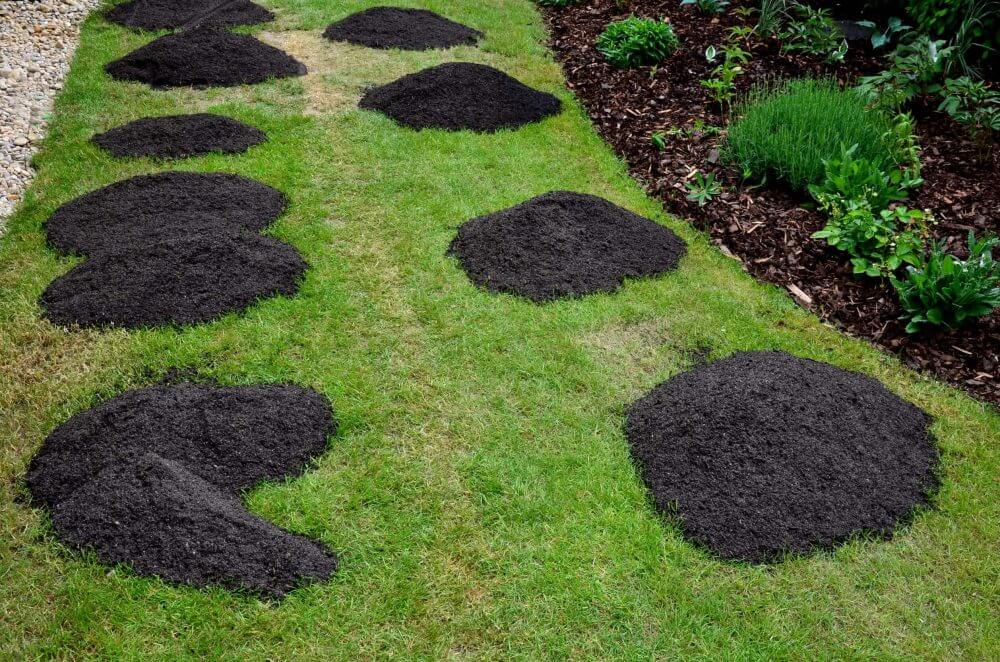
Spread layers of compost to feed your grass with the right nutrients and make it lush.

Turf sand, soil or compost for top dressing

7. Boost Compost Bins:

Making a compost pile with the fully developed compost will kick start new compost piles. This provides various forms of micro organisms for working with the compost pallet.

8. Repel Pests and Diseases:

Some research suggests that using compost as a top dressing around plants will help deter certain pests and diseases because of  its rich microbial community.

9. Utilisation of Compost for Erosion Control:

Use compost to help control erosion on slopes or bare areas by stabilising the soil and promoting healthy plant growth and deter weed growth.

10. Support Sustainable Living:

By using compost, you are participating in sustainable waste management, reducing your ecological footprint, and returning organic matter back to the earth.

In conclusion, compost is a valuable resource with numerous benefits for gardening, landscaping, and environmental stewardship. Our Diggers compost is the perfect example of high quality, nutrient rich compost available at Kennedys Cranbourne.

Embrace the active use of compost in your everyday life to enhance the health and vibrancy of your plants and contribute to a more sustainable world.

From Waste to Wealth: A Beginners Guide to Composting

Composting Kitchen Scraps with Compost Creation tips

Composting your garden waste at home is a fantastic way to reduce waste and create nutrient-rich soil for your garden.

Here’s a simple beginners guide of compost creation tips to get you started:

  1. Choose a composting method: There are various ways to compost, including using a bin or setting up a compost pile in your yard. Select a method that suits your space and needs.
  2. Collect organic material: Gather kitchen scraps like fruit and vegetable peels, coffee grounds, and eggshells. Also, collect yard waste such as grass clippings, leaves, and small branches. Avoid adding meat, dairy, and oily foods to your compost.
  1. Layer your compost: Alternate layers of green (nitrogen-rich) and brown (carbon-rich) materials. Green materials can include kitchen scraps and grass clippings, while brown materials can be dry leaves, straw, or shredded paper.
  1. Add water and air: Moisture and aeration are crucial for the composting process. Ensure your compost pile is damp, like a wrung -out sponge, and turn it occasionally to provide oxygen to the microorganisms breaking down the material.Composting Kitchen Scraps with Compost Creation tips
  1. Let it decompose: Depending on the method and conditions, composting can take a few months to a year. Keep an eye on the moisture level and turn the compost because this will aid decomposition.
  2. Use your compost: Once the compost turns dark and crumbly, it’s ready to use in your garden. Spread it around your plants or mix it into the soil as its improves soil fertility.

Tips & Benefits to Compost

Remember, the key to successful composting is maintaining a balance of organic materials, moisture, and aeration.

Happy composting!

Kennedys supply fresh nutrient rich compost which is readily available for your garden projects now. Composts you can choose from are either Diggers Compost or Mushroom Compost.

If you have any specific questions, feel free to ask. See video on YouTube here.