WHAT TO PUT UNDER FRESH INSTANT TURF BEFORE LAYING

Preparing the ground for instant turf

The success in establishing freshly laid turf depends greatly on both proper site preparation and soil preparation.  Spending time on preparation will help to ensure the best growing conditions and establishment for your freshly laid instant turf.

HOW TO PREPARE THE SITE FOR INSTANT TURF INSTALLATION

Prepare the site with the following steps will ensure successful establishment for your instant turf:

  • Clear the site from weeds, rocks and sticks. 
  • Dig the surface to a depth of 10-15 cm
  • Add quality sandy loam soil of around 10 cm making sure the soil level is 3cm below paths and driveways.
  • Slope the soil away from buildings to avoid flooding.
  • Rake the soil for an even surface
  • Apply quality lawn starter fertiliser
  • Instant turf can now be applied.

SITE CLEARANCE

The first step is to clear the area of any debris such as rocks, sticks, weeds or stones.  Dig the area evenly to a depth of around 10-15 cm making sure that the soil slopes away from the house. This will improve drainage therefore reducing wet patches and flooding near buildings.


Preparing the site for artificial turf installation
Preparation for instant turf installation

SOIL PREPARATION

It is important to prepare the soil properly before laying new lawn.

Add a good quality top soil around 10 cm in depth.

A sandy loam top soil is best and can be top dressed with turf sand if required.Make sure the soil level is 3 cm lower than any paths or driveways.

This will ensure an even surface for mowing after the turf has been laid.

RAKE THE SOIL

Rake the soil so the surface is free of any pits or rises.  This will give you better results for an even lawn surface and easy mowing.

Next, add a good quality lawn starter fertiliser to the soil before laying the fresh turf.

When you are happy with the appearance of your soils surface, you may then apply the correct instant lawn for the weather conditions for the area for which you live.

Preparing the ground for Artificial grass installation

blue stone dust underneath synthetic grass

Artificial grass has been a low maintenance option for those who love the look of grass but don’t want to spend time mowing or maintaining it.

Before installing synthetic grass, it is essential to have the area prepared properly.

With the right ground preparation, synthetic grass will look amazing and feel soft underfoot.

Remove Lawn

Dig out to remove existing lawn and debris. Dig down to a depth of around 10cm. This allows enough room to apply the sub bases.

Best sub base for artificial grass

1: Apply 5 cm of 20 mm crushed rock as the first sub base layer and compact.
2: Spread another 5 cm of a fine crusher dust such as Blue Stone Dust for a smooth, softer feel under the grass
3: Smooth and level the crushed dust so the artificial grass will be smooth.
4: The area is now prepared for the application of the artificial turf

Applying the sub base

Lay around 5 cm of the 20 mm crushed rock first and compact down firmly. This layer will provide a firm
base and keep the levels from dropping or forming low patches.
Next, lay another 5 cm of fine crushed dust such as Blue Stone Dust and smooth out the surface. The Blue Stone Dust is a
finer product and will feel smoother and softer walking underfoot when the artificial turf has been laid.

Synthetic turf
Synthetic turf

Smooth and level

Use the back of a rake or piece of wood to smooth and level the area.  It is important to get this step right as a smooth sub surface will give the laid artificial turf a smooth soft appearance.  The area is now prepared for the application of synthetic grass and kiln dry sand.


Choosing the right mulch for your garden

What is the best garden mulch to use

Mulch is so important to the health of both soil and plants. It has many functions and benefits in the garden.  Deciding on the right kind of mulch for your garden depends on what types of plants you are growing and their specific needs.  The types of mulch can be broken up into three categories. These categories have differing benefits to both the soil and the garden plants.  They are called feeding mulches, woody mulches and hard mulches.

What is the best garden mulch?

Nutritional mulches such as Sugar Cane mulch and Pea Straw are best suited to shallow rooted plants feeding vegetables and flowers.  Woody mulch breaks down more slowly which is suitable for garden shrubs and trees.  Hard mulches like pebbles, scoria or gravel offer no nutritional value. They are suited to both drought tolerant plants or those with little nutritional needs.  Liquid fertiliser can be applied to plants that are hard mulched from time to time.


Feeding mulch

Mulches that break down quickly, promote worm and microbial activity, nourishing and conditioning the soils structure.  This type of mulch is perfect for the vegetable garden and other shallow rooted plants.  Mulches such as Lucerne hay, Pea straw and Sugar cane mulch fit into this category.

sugar cane mulch

Woody Mulch

Woody mulches come in an assortment of size and textures.  Fine woody mulches will tend to break down faster while the thicker wood chips are very slow to break down.  These mulches are recommended to be applied up to 10 cm thick to retain moisture and regulate soil temperature.  Woody mulches can be used in garden beds amongst flowers, shrubs and trees where the roots grow deeper into the soil.

wood chip mulch

Hard Mulch

Hard landscaping mulch such as pebbles, scoria or gravel does not break down or feed the soil at all and is mostly decorative.  This mulch does not need to be topped up each year, therefore is low maintenance in the long term.  Hard mulches can be used in low nutritional gardens or drought tolerant gardens.

With careful consideration, choosing the right mulch for your garden can give your plants the best start, creating an enjoyable space to relax and unwind around your home.

How to clean new landscaping garden rocks and pebbles of silt or dirt

How to clean landscaping stone or pebbles

When you receive your first load of rocks or garden pebbles, it is possible that they may be covered in a fine film of silt or have a dirty appearance.  As they are a natural product which comes from the quarry, the silt may have settled in the pile and covered the stones at the bottom of the pile.  With a few simple maintenance steps your pebbles and garden rocks will look amazing for many years to come.

Cleaning the landscaping rocks or pebbles with a broom and a spray hose is usually all you need to achieve fresh new look required for your garden beds.  Rain also can be enough to wash away the silt from the surface of the pebbles.

Lay your rocks into position

First, lay your rocks or pebbles in the garden beds as you would like them.  This will save any double handling and therefore easier cleaning of your stones.

Use a broom

Hard brushing the surface of the rocks or pebbles with a broom will scrub away any excess, therefore thinning the dry silt layer which are covering the stones. Do this before hosing or applying water to the stones.

Water with a spray hose

Using a pressurized spray hose, will blast water in between the rocks to loosen the silt or dirt.  Washing the stones will bring out the best of the colours in the pebbles.

The water may look quite muddy but will wash away fairly quickly, cleaning the gravel or stones.

There is no need to hose your pebbles or rocks if rain is forecast, as the rain will naturally wash away the silt from the stones.

Maintenance

Over the seasons, you may notice some leaves or twigs have fallen over the surface of your landscaping stones.  A simple blast with a blower or garden vac will remove the layer of fallen debris to keep your garden looking its best.

With a very small amount of maintenance, landscaping your garden with rocks, pebbles or gravel will continue to keep its appearance and your garden will look great for many years to come.

Planning a vegetable garden

Planning a vegetable garden

There is something about the taste of freshly home-grown food as the intense flavours are so different to store bought produce.  This is one of the reasons why back yard or balcony veggie plots have been a beneficial past time throughout the ages.

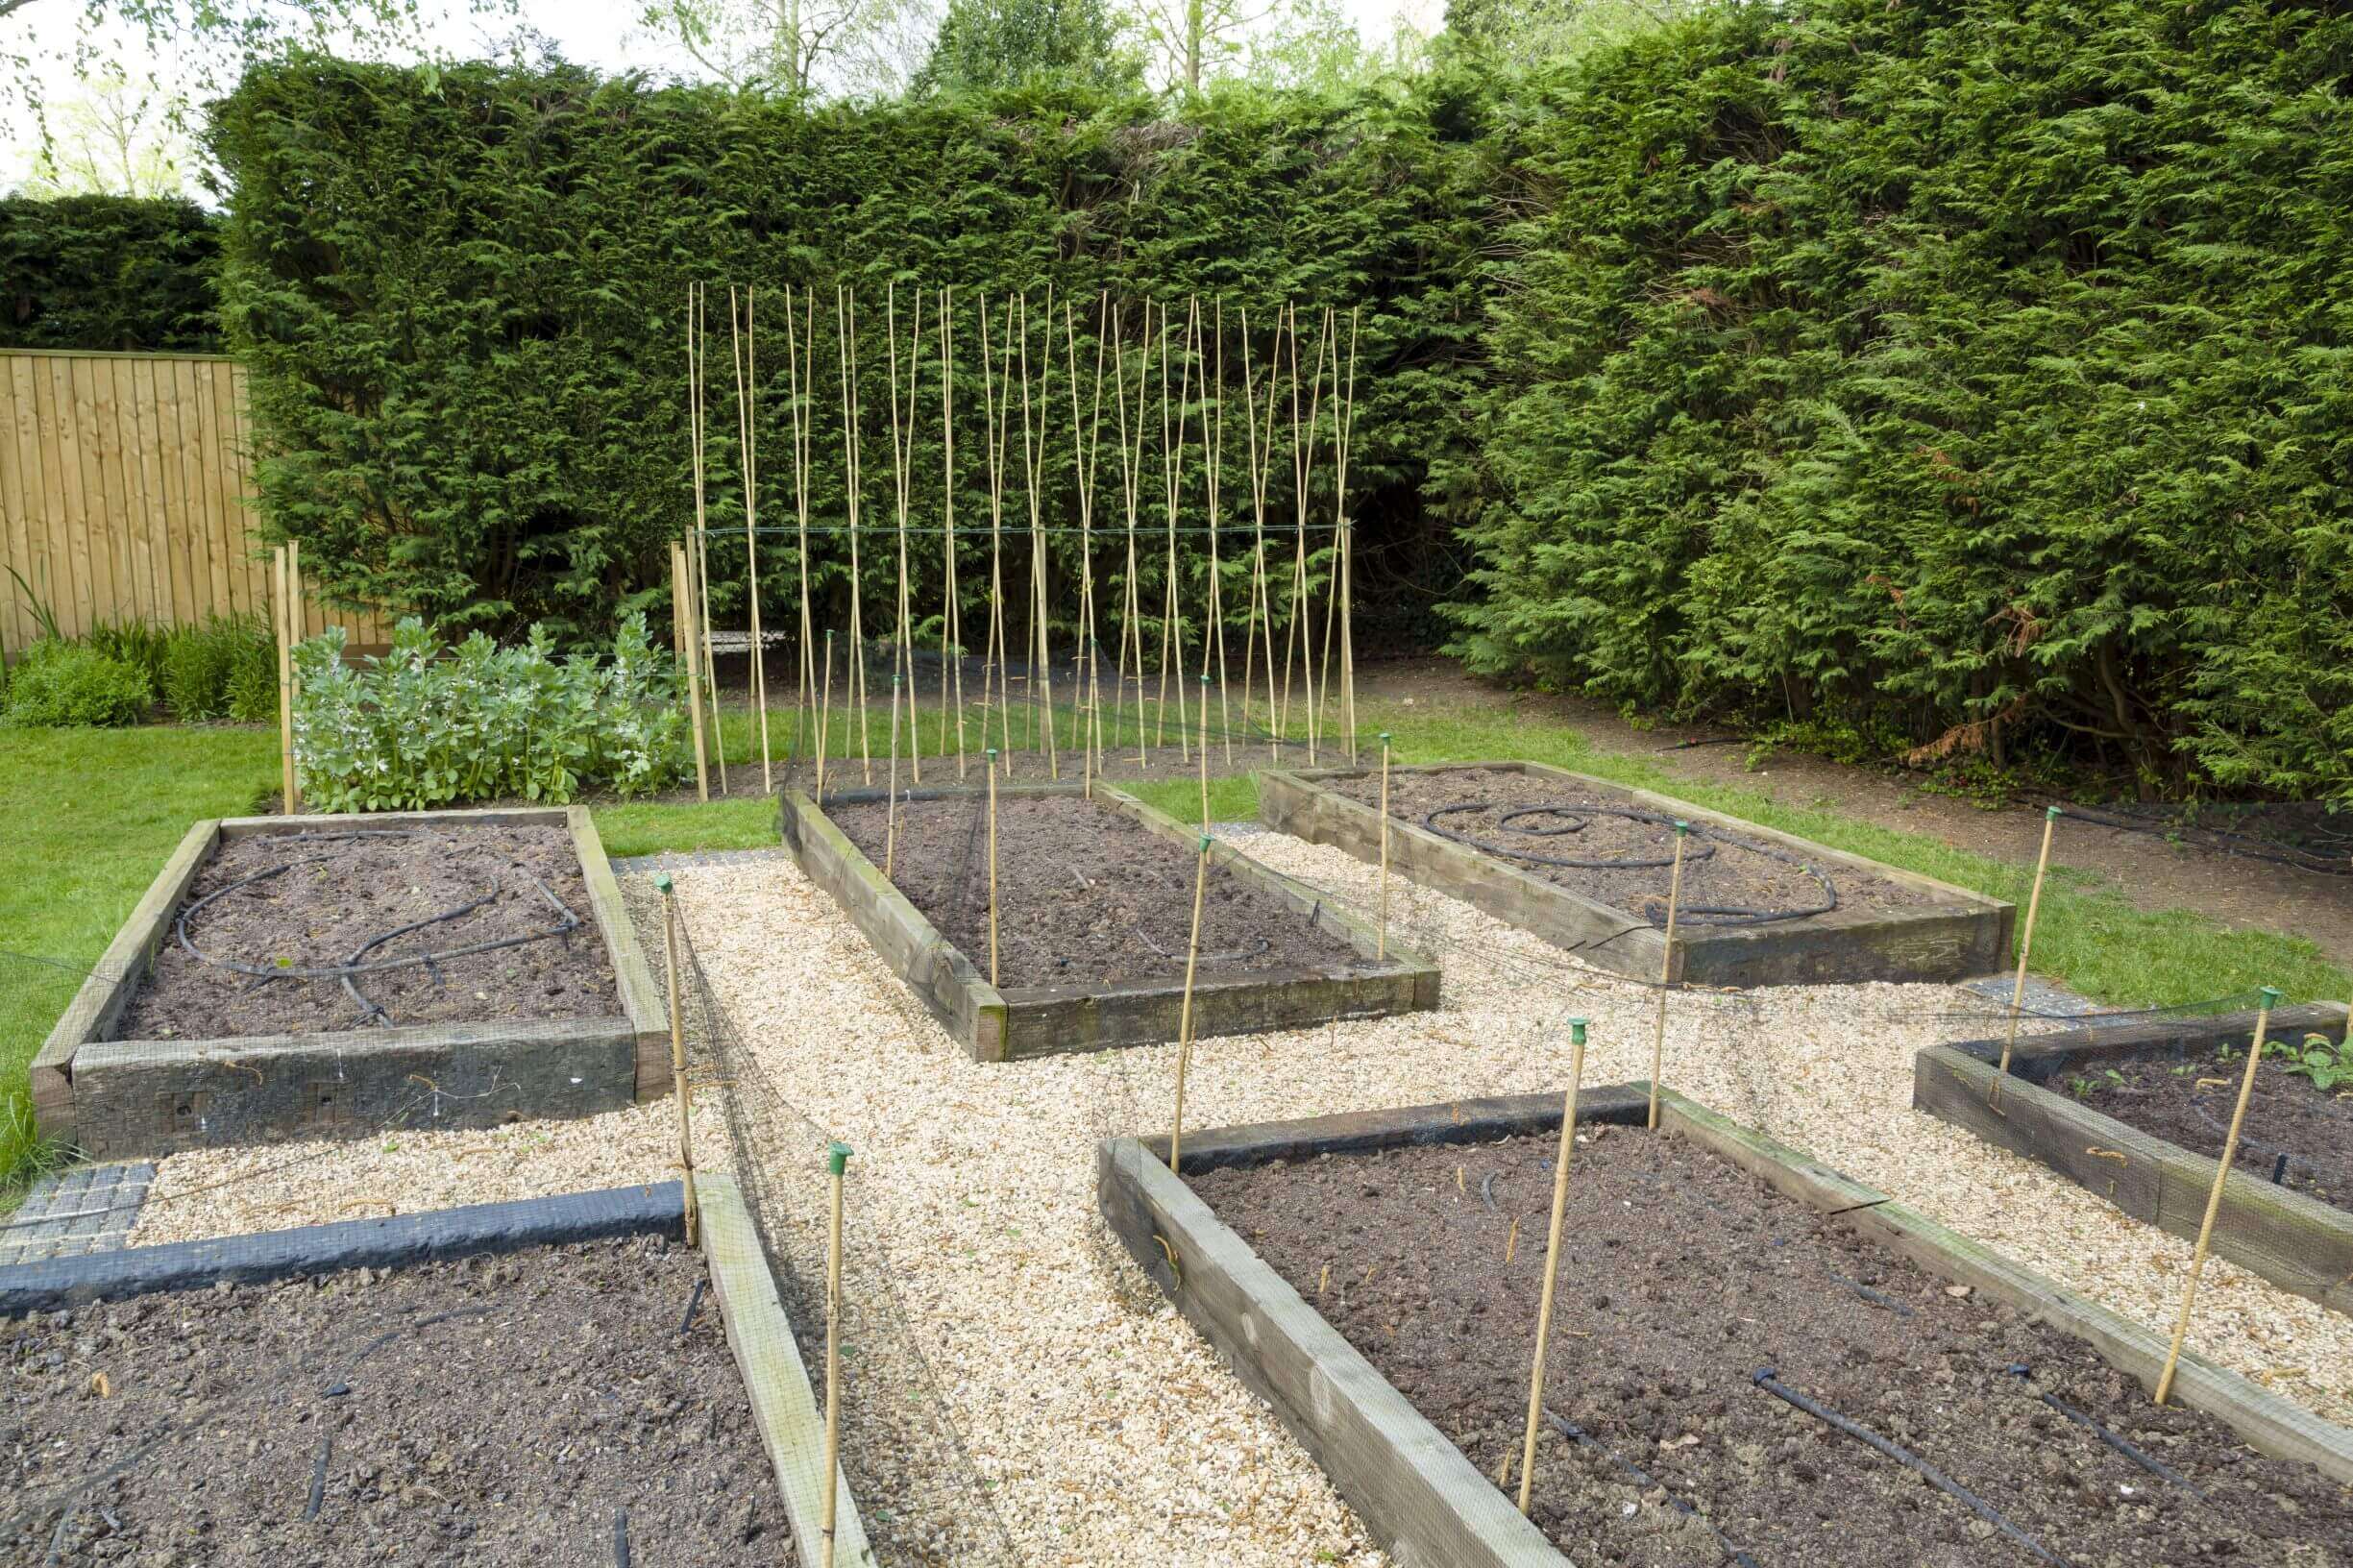
There are a few things to consider when planning and constructing your own plot. Before building and planting, consider the sunny aspect, mark out your beds, build the raised garden beds and fill with the best ingredients.   Get this part right and it will make growing and harvesting so much easier.

Consider the location

Locate your vegetable garden where it will receive full sun.  Herb gardens can be located closer the house for regular harvesting.  Look for an area where the grass grows lush and green which indicates a good location for a vegetable garden.

Preparation

Mark out the positions of the beds with a spray marker or string line.  This will ensure your vegetable garden is the correct shape when constructed.

The ideal width for a raised garden bed is 1.2 metres wide and 2.4 metres long. A width of 1.2 metres will allow you to reach into the middle of the bed for planting and weeding.  The typical length of a treated pine sleeper is 2.4 metres which makes and ideal length or connect two sleepers for a longer 4.8m length.

If you are planning more than one garden bed, position them side by side allowing between 0.9 and 1 metre in between for a pathway to walk through.

Next, remove grass with a shovel or turf cutter and use a sharp spade to achieve straight edges.

For a no dig garden, layers of cardboard can be placed over the grass secured by sleepers.

Water in the cardboard well to improve drainage.

Construct Raised beds

MicroPro Sienna or ACQ treated pine is best for garden edges as it does not contain arsenic. For other types of treated sleepers, line inside with plastic or poly to create a barrier to the soil.  Join the edges with galvanized screws.

Treated pine sleepers are approximately 2.4 metres in length and 20cm in width.

Condition the soil

Compost, manures, gypsum, dynamic lifter and other organic matter can be mixed into the soil improving its condition, structure and nutrient levels. Here you can see their price list when you need help in house cleaning.

The added organic mixture increases water holding capacity and feeds the plants via the root system.

Planting

Always plant Seasonal vegetables.  In Victoria, plant march to May for cool season veggies and August to October for a warm season crop.

Mulch

After planting, add a thick layer of mulch such as sugar cane, lucerne hay or pea straw to retain moisture levels and regulate soil temperature.  These types of mulches will break down quickly to feed soil and improve soil structure.

Your plants will thrive in healthy soil, rich in organic matter and moisture.  With only a small amount of regular care, you can enjoy a beneficial and healthy bounty of home-grown food.

How to care for and maintain colour in dyed garden mulch

How to care for coloured mulch

Coloured or dyed mulch has become very popular over the years.  Occasionally we receive enquiries asking how to care and maintain the colours

There are a few things to know and prepare for when receiving a delivery of freshly dyed mulch.

Lay tarp

The first thing we recommend before expecting your first delivery is to lay down some tarp or plastic on your driveway to tip the load on.

This will help prevent any excess colour staining the driveway and avoid unnecessary clean ups.

Wear gloves

Before handling the fresh mulch, make sure you put on a pair of gloves to ensure your hands are free from any staining.

Refrain from watering

As the mulch dries over time, the vegetable dye sets and is no longer affected by rain.  For best results, avoid watering the fresh mulch for 24 hours to allow the colour to set.

Raking

If you have found the mulch has been affected by the Spring Wash, simply turn the pile or rake the garden bed to freshen up the vibrant colour.


Your choice of either Sunset red or black mulch is very much a personal decision as to what look you would like to achieve in your garden. What ever your choice, your garden plants will surely reap the benefits.

Building Kid-friendly Outdoor Spaces At Home

Having a kid-friendly place space in your garden will encourage children to be active and spend time outdoors in the fresh air. Safety is essential. The area you choose for your play space should be on a flat level surface with equipment that can withstand the Australian climate and not get too hot in Summer.

But what surface is best for your kid-friendly place space? Ideally, you’d want something safe, low maintenance and affordable. Let’s take a look at a few different options.

Fake lawn

Fake lawn can get a bad rap at times and to be completely honest, artificial lawn is probably not suitable for all areas. It is relatively low maintenance but it Australia’s hot climate it can get scorching during Summer.

In a shady area, fake lawn is a great alternative, especially if your kids are prone to hay fever or allergies from traditional lawn. Plus it provides a great flat surface that may not be achieved with a conventional lawn.

Pavers

Pavers are common in the backyard and provide a fantastic level surface for a playspace. Like fake lawn, pavers can get very hot in Summer, so it’s best to consider where you’re going to pave and opt for a shady location. Pavers are probably not the best choice under play equipment but will provide an excellent base to cubby houses and other play spaces. 

Tanbark

A playground certified tanbark is the perfect option under play equipment to help protect children from bumps and bruises. This versatile product is not the best choice for paths, so it’s probably best to use in conjunction with pavers for fake lawn.

Rubber tiles

Rubber tiles are slip-resistant, easy to maintain and available in a variety of thicknesses. They can be used in pathways as well as under play equipment but can also get hot in the Australian Summer. Some can wear quickly and won’t last as long as other surfaces.

Whatever your choice for a kid-friendly surface, the friendly team at Kennedy’s Garden Supplies can provide you with advice and information and deliver products to the local and surrounding suburbs of Cranbourne.


Easy To Do Themed Gardens

Themed gardens are becoming increasingly popular so let’s take a look at some of the most popular themes and how you can bring a point of interest to your garden.

Zen Garden

The main idea with a Zen garden is that everything in it must carry a meaning to you. There is no focal point in a zen garden and asymmetry, and contrast is essential.

All elements are carefully selected to harmonise with each other, and it should look natural and well maintained.

A zen garden will provide you with a serene retreat away from the hustle and bustle of the modern world.

Australian Native

There are a plethora of plants you can put in your Native Australian garden, and the good news is most are drought tolerant and very low maintenance.

Think Spotted Emu Bush mixed with Kangaroo Paw and maybe even an NSW Christmas Bush. Carefully plan out your garden with Australian natives, and you’ll have a relaxing space that is low maintenance and requires very little water to keep it looking great!

Asian Inspired

An Asian inspired oasis will require some careful planning and beware – they’re usually high maintenance. 

There are a few different styles – in a Chinese garden, the emphasis is on nature and culture to create a harmonious space. A Japanese garden is a little more controlled. All have water features. Jump on Pinterest for inspiration and styles to best suit your climate and home.

English Flower Garden

An English flower or cottage garden seamlessly blends colours, textures, forms and fragrance to create a beautiful and breathtaking garden. 

An English flower garden does not have to be meticulously planned, but it does need some maintenance to ensure some plants don’t take over the entire yard while others need to be maintained, so they don’t die out.  

Start with a formal structure and then let your imagination run wild with various cottage plants and flowers suitable for your climate. It’s probably best to start small and use features such as picket fencing, window boxes, birdbaths and feeders mixed with rustic tables and chairs to fill the empty spaces.

Considerations For Adding A Water Feature To Your Garden

A water feature can transform your garden into a tranquil oasis by masking street noise and providing a quiet, contemplative space for you to relax during your free time. A water feature can be small or large and range from a quiet little corner to the main focal point of your garden. Here are some considerations when choosing a water feature.

Water

In the Australian climate, it is a must that your water feature uses recycled water. Most water features come with a solar pump which will recirculate water through the feature.

And speaking of water – before adding a water feature, think about what kind of sound you want to have in your garden. Too much water and it might not be as relaxing as you’d like.

Maintenance

Everyone is busy these days, and you don’t want to spend a lot of time cleaning and maintaining a water feature. Look for a feature that requires little to no maintenance.

Location

Think about the location. Are there any trees or plants nearby that will mean the feature will require more maintenance. Sometimes it’s easier to nestle a water feature in a quiet corner than have it as the focal point of the garden and if you have small children consider a feature with no exposed water.

What kind of water feature will suit your garden?

Birdbath

A birdbath is probably the easiest water feature to put in your garden and the most versatile. They come in all shapes and sizes, are require very little maintenance, and you’ll attract plenty of wildlife to your garden.

Pond

A pond will require a little more planning than a birdbath but not too much more maintenance. Like a birdbath, ponds come in varying shapes, sizes and depths. Check with your local council for any fencing requirements.

There is a vast range of solar pond pumps available to keep your pond thriving, and you can introduce various plants such as Water Lillies or Australian Native Violets.

Fountain

A recirculating fountain can be a straightforward water feature to create. The most popular would have to be a bubbling vase. A recirculating fountain is often the most economical.

Pondless water feature

A pondless water feature is excellent for homeowners who enjoy the sound of running water without the maintenance of a pond, see their price list. It’s also great for those with kids as there is no exposed water.

Adding a water feature to your backyard doesn’t have to be an expensive or over the top exercise. As always, the friendly team at Kennedy’s Garden Supplies can help you select the best equipment and plants for your new water feature.

Easy Alternatives To Grass

Is there anything better than looking out over a perfectly manicured and lush green lawn? For many Australians, their lawn is the pride of their garden; for others, it’s the bane of their
existence requiring constant watering and maintenance. Do you think it might be time to give up on the perfect lawn and look at alternatives? Why not consider these.

Plants and Shrubs

In an area where there is some foot traffic, a creeping ground cover will be perfect for the Australian climate. Some will tolerate a little walking on it; other’s won’t. Most require very little
maintenance. Look at a hardy option such as kidney weed or woolly thyme, and these won’t mind being walked on. Dichondra is a lovely native but not as hardy and will only be suitable if it’s not going to be walked on all the time. For a little colour consider Blue Star Creeper or the beautiful Australian Violet. Both are incredibly hardy, ideal for slopes and did you know the flowers on the AustralianViolet are edible.

Rocks or Gravel

If you want to change the look of your landscaping all together, you can have a mix of rocks, gravel and plants. Soft gravel is excellent for a pathway and looks great mixed with a ground cover such as kangaroo grass. Succulents look great when mixed with rocks or gravel. Always select plants that don’t require much watering and when considering gravel always select gravel fine enough that it doesn’t get stuck in your shoes. This way the gravel stays on the pathway and not throughout your garden and home. Read how to get best value for money. Rock features can also be used in areas where there is little to no foot traffic.

Other alternatives

The first lawn alternative that jumps to mind for most people is artificial turf. Artificial turf comes in varying forms and quality. There is some maintenance required, and you’ll have to sweep the
turf to keep it free from leaves and other debris. It can get hot in the Australian sun, so it’s a good idea to consider if it’s suitable for your home and lifestyle. You can also consider pavers and bricks. Like artificial turf, pavers and bricks are a great alternative but can get hot! You’ll need a blower vac or broom to keep debris to a minimum but other than that there is little to no maintenance.

So, as you can see, there are many different alternatives to a perfectly manicured lawn that look just as great but gives you time to enjoy your garden rather than continuously work in it!

Call in to see the friendly team at Kennedy’s Garden Supplies in Cranbourne for further advice and information.